I have recently found Bernat Velvet yarn and I am obsessed! The softness and plushiness of this yarn is spectacular, amazing, and dare I say addicting!
Most of the time I don’t buy yarn
unless I have a project in mind, but a couple of months ago while yarn shopping
during a marvelous sale at Joanns, I saw the velvet yarn and after some intense
thinking of having a little extra money to spend on a yarn I did not have
anything planned for, I took the plunge, and I bought 2 (it was all that was
left)
I get home and literally spent way to
much time just playing with the yarn because I could not get over how soft the
yarn was, it really blew my mind. I sat with this yarn for a couple of months
before I figured out what I was going to make, it took a lot of thinking. I
only had 2 balls of this yarn, and I wasn’t going to buy more before I worked
with it, so after thinking and thinking it suddenly popped into my mind like bam….
make a pillow!
So here it is, the fruits of a lot of
thinking, and luckily not to much labor!

For a printable version of this pattern from ETSY
Shop on Etsy
For a printable version of this pattern from RAVELRY at a discounted price
Shop on Ravelry
Supplies Needed
Shop on Etsy
For a printable version of this pattern from RAVELRY at a discounted price
Shop on Ravelry
Supplies Needed
2 Bernat Velvet ( Blush Pink)
Crochet Hook: Size K-10.5-6.50MM
Yarn Needle
Fiber Fill, Poly-Fill, or a Throw Pillow
Insert of some kind
Notes
My finished pillow measured 18 x 18
I made my own insert using Fiber Fill, the white mesh material from a bed skirt, and hot glue
If you decide to make your own, I suggest not using hot glue, and either sewing or using a fabric glue or fabric tape.
If you bought some kind of throw pillow insert, checking your gauge and making a sample swatch is super important, to guarantee an appropriate fit
Remember that the size of your pillow will not reflect the size of your finished panel pieces, as when you add the filling it will appear smaller because they will be stretching over the filling.
Tips
When doing your border, if you crochet
over your starting tail, and when stitching the panels together you crochet
over your ending tail of each panel, you will only have to weave in one end at
the end.
Check your gauge!
Abbreviations
St = Stitch
Ch = chain
SC = Single Crochet
MB = Mini Bean Stitch
Gauge
10 st = 3.5 in
5 rows = 2 in
10 st = 3.5 in
5 rows = 2 in
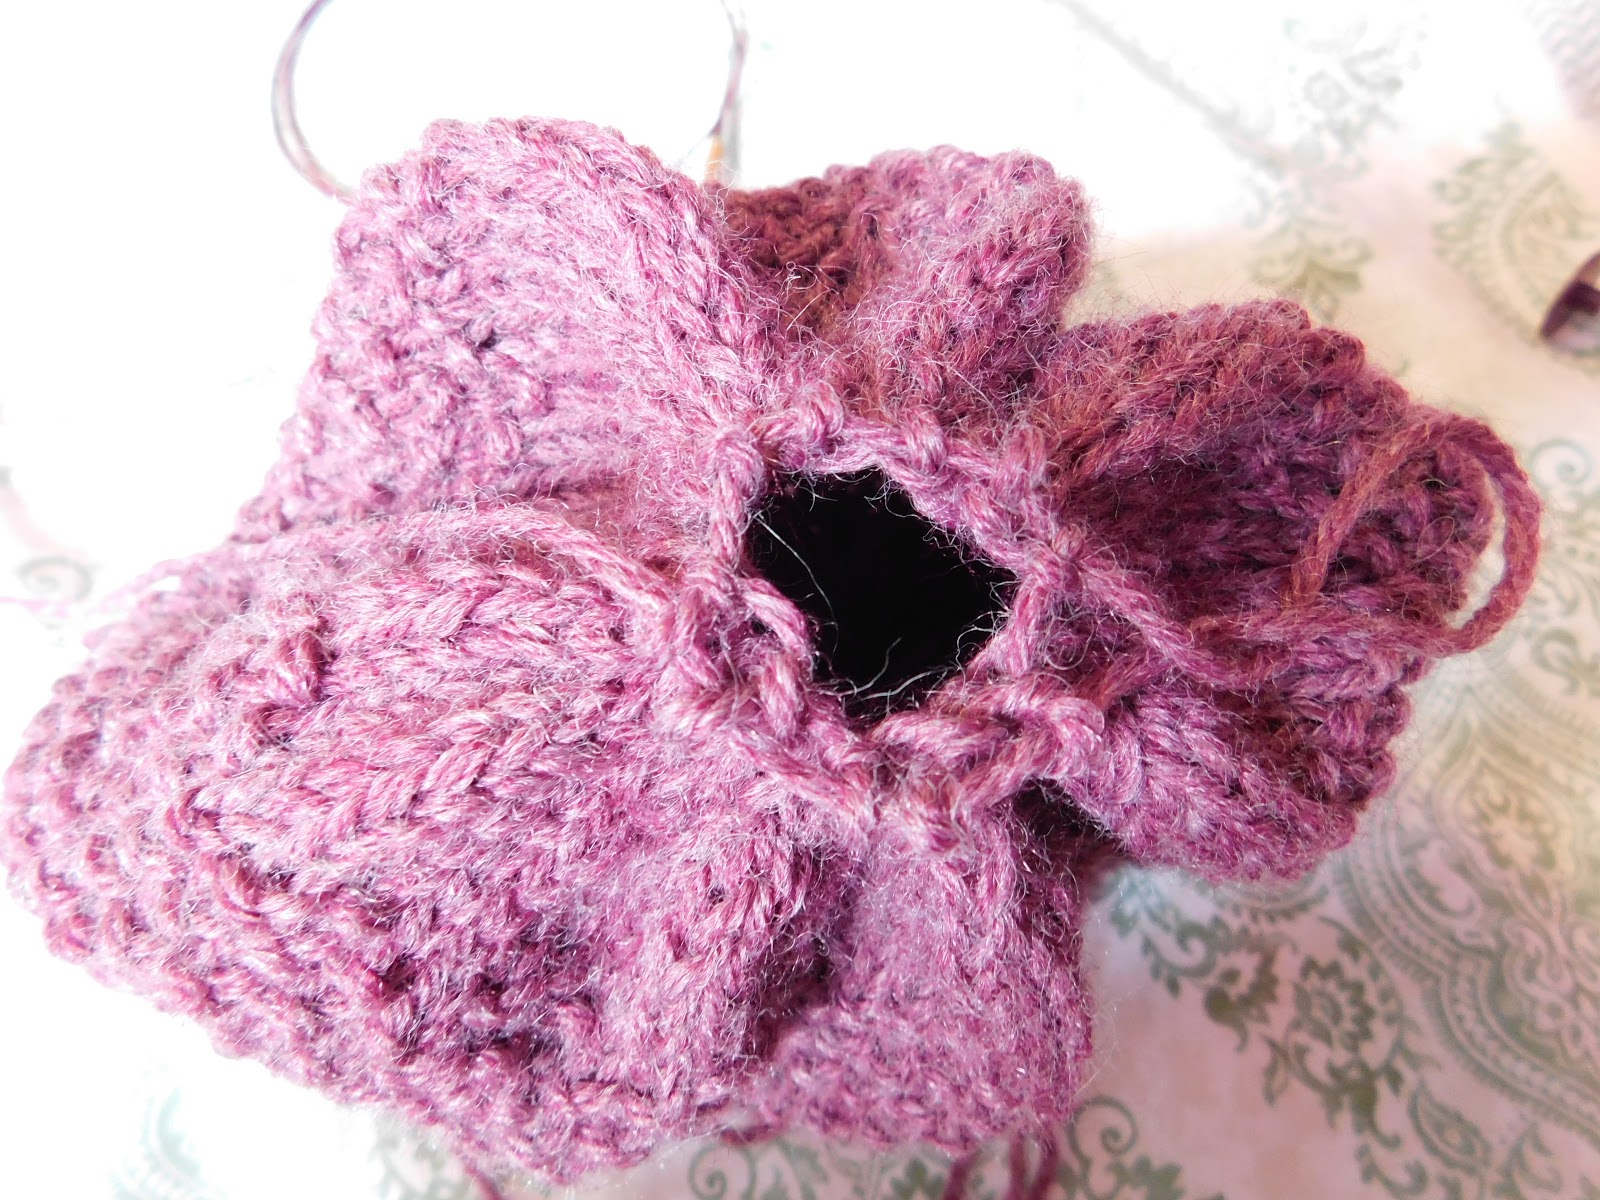
The Mini Bean Stitch
Insert hook in the chain, yarn over
the hook and pull through (2 loops on hook), yarn over hook again (3 loops on
hook), insert hook back into the same stitch, yarn over hook again and pull
through (4 loops on hook), yarn over and pull through all 4 loops.
Chain 1 after each MB stitch, except for your last one, where you will chain 3
I have added a photo tutorial, to assist and will also provide a link to a YouTube tutorial
For your first row, when you are working into your foundation change, you will go into the stitch as you normally would for SC
Mini Bean Stitch Tutorial by Hopeful Honey
1. Insert hook into the side of the stitch from the previous row
2. Yarn over and pull back through (2 loops on hook)

3. Yarn over again, and insert hook back into the same stitch


Chain 1 after each MB stitch, except for your last one, where you will chain 3
I have added a photo tutorial, to assist and will also provide a link to a YouTube tutorial
For your first row, when you are working into your foundation change, you will go into the stitch as you normally would for SC
Mini Bean Stitch Tutorial by Hopeful Honey
1. Insert hook into the side of the stitch from the previous row
 |

3. Yarn over again, and insert hook back into the same stitch

4. Yarn over and pull back through (4 loops on hook)

5. Yarn over again

6. Pull through all 4 loops

7. Chain 1

The Pattern
Pillow Panel (make 2)
This pattern calls for a stich that I
have seen called the Mini Bean Stitch or the Elizabeth Stitch, for this stitch
you will need to chain in multiples of 2 plus 4
Chain on the amount of stiches needed to obtain desired length, making sure that it is in multiples of 2 plus 4. (I chained 52 plus 4 for a total of 56)
Each row is done the exact same
Row 1: Beginning in the 4th
chain from the hook, * MB, ch1, skip 1 stitch* repeat until 2 stitches are left, skip 1 chain, MB into last chain stitch, ch 3 and
turn your work
Row 2: * MB, ch1, skip 1 stitch*
repeat until your last stitch, MB into last stitch, ch 3 and turn
Repeat row 2 until you reached your desired length (I completed 50 Rows)
Do NOT cut and knot off yet
Border
SC in each along all four sides of
the panel, when you get the corners, crochet 4 SC in the same stitch and then
continue SC along the sides
Once you have gone around all 4 sides, SC in the stitch you started in and continue SC around all 4 sides. This time when you get the corners where you have your 4 SC in the same hole, find your two center ones and in each of those you will do 2 SC in each of the two middle stitches.
Once you have gone around the edges twice, cut and knot off.
Adding a border will make your panels
a little sturdier and it will also help when you stitch the two panels
together.
Stitching Your Panels
Since each panel is made with the
same row repeated, each side of the panel should look identical, so there is no
“wrong” or “right” side.
Put your panels together and make sure the sizing is the same for each panel, choose a corner to start and put your hook through the edges of both panels and SC. You will repeat this for three sides
Before completing your 4th side insert your filling and make sure it all fits and is as you desire.
Once you have your filling in continue around your 4th side and once you have reached the end cut your yarn and knot off and weave in your ends.
And there you go, you have now made such a soft beautiful pillow, that would look spectacular in any living room, or on top of any bed, plus it is super comfy!
For a printable version of the pattern from ETSY
Shop on Etsy
For a printable version of this pattern from RAVELRY at a discounted price
Shop on Ravelry


I
would love to see your creations, find me on Instagram and post a picture using
#modestlymeek or @modestlymeek!


If
you have any questions email me at modestlymeek@gmail.com
Using “Help with Velvet Plush Pillow” in the
subject line You can also DM me on Instagram!
Want to stay updated for future patterns, updates and amazing giveaways?
Remember to subscribe to Modestly Meek newsletter!
(fill out the form located on the side)
Want to stay updated for future patterns, updates and amazing giveaways?
Remember to subscribe to Modestly Meek newsletter!
(fill out the form located on the side)
This pattern is property of
Modestly Meek and may not be distributed or changed in any way. Any finished
products from this
pattern are yours and you may do as you wish with the finished product. If you
decide to sell your finished product
please credit the pattern to
modestly meek
Mini Bean Stitch Tutorial by Hopeful Honey